Ліст . 27, 2024 07:37 Back to list
DIY Heating Pad Ideas for Relieving Back Pain at Home
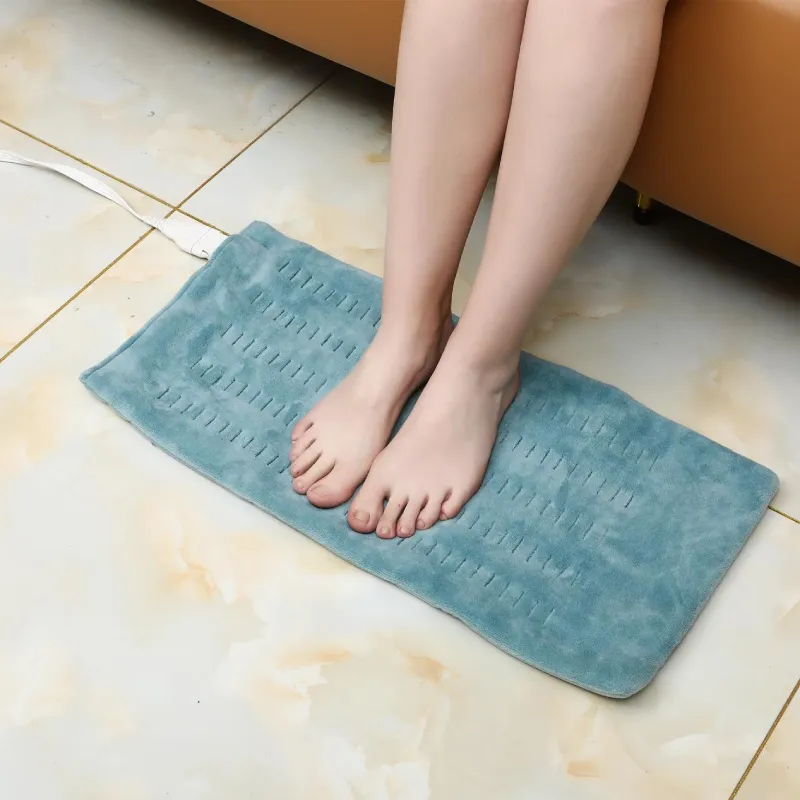
Homemade Heating Pad for Back Pain Relief
Back pain is a common ailment that affects millions of people worldwide. Whether it’s due to poor posture, heavy lifting, or just the wear and tear of daily life, the discomfort can significantly hinder daily activities. While there are many commercial heating pads available, making a homemade heating pad can be a cost-effective and convenient alternative. Here’s a comprehensive guide on how to create your own heating pad and the benefits it can provide for back pain relief.
Benefits of Heat Therapy
Heat therapy is a tried-and-true method for alleviating back pain. Applying heat helps to increase blood flow to the affected area, which promotes healing and relaxes tight muscles. Furthermore, heat can help reduce stiffness and improve flexibility, allowing for better movement. This soothing treatment can be particularly beneficial for chronic pain sufferers, as it offers immediate relief and can be easily integrated into one’s daily routine.
Materials Needed
Creating a homemade heating pad requires minimal materials, which are often readily available around the house. Here’s what you’ll need
1. Fabric Use an old towel, cotton fabric, or a pillowcase. The fabric should be durable and able to withstand heat. 2. Filling Options include uncooked rice, barley, dried beans, or flaxseed. These materials hold heat well and release it slowly. 3. Sewing Supplies If you opt to sew your pad, you’ll need a needle and thread or a sewing machine.
4. Microwave For heating your pad.
Instructions to Create a Heating Pad
homemade heating pad for back pain

Step 1 Prepare the Fabric If you’re using a towel, fold it to your desired size – typically about 12x15 inches is effective for back pain
. If you’re using cotton fabric, cut it to the same size, leaving extra allowance if you plan to sew the edges.Step 2 Fill the Pad Sew or secure three sides of the fabric together if creating a pocket. Next, fill the fabric with your chosen filling, leaving room at the top to sew the final edge closed. Aim to fill it about two-thirds full to ensure flexibility.
Step 3 Seal the Pad Sew or secure the final edge. If you’re worried about the filling spilling out, it’s a good idea to double stitch the edges for added durability.
Step 4 Heat the Pad Place your heating pad in the microwave. The heating time may vary depending on the size and filling, but start with 1-2 minutes. Check the temperature to ensure it’s warm but not too hot, and adjust the time as necessary.
Step 5 Application Once heated, apply the pad to the affected area on your back. You can also secure it in place with a wrap or clothing to keep it on longer. Relax and allow the heat to work its magic for 15-20 minutes.
Caring for Your Heating Pad
To maintain your homemade heating pad, avoid getting it wet. If it accumulates dirt or odors, consider making a new one or spot-cleaning the outer fabric. If you notice any wear and tear, such as holes or loose stitching, repair them promptly to prevent the filling from escaping.
Conclusion
A homemade heating pad is a simple and effective solution for individuals seeking relief from back pain. By utilizing basic materials and following easy instructions, you can create a personalized heating pad that meets your specific needs. This natural method not only offers immediate comfort but also aligns with a holistic approach to health and wellness. So, the next time you feel that nagging ache in your back, remember that relief could be just a microwave away!
-
Innovations and Applications of Modern Electric Heating Blankets
Jul.07,2025
-
Innovations and Applications of Electric Fleece Blanket Systems
Jul.07,2025
-
Functional and Cozy Solutions for Personalized Warmth
Jul.07,2025
-
Essential Comfort and Warmth Solutions: Heated Blanket Variants
Jul.07,2025
-
Enhancing Coziness with Warmth - Centric Blanket Solutions
Jul.07,2025
-
Enhancing Comfort and Warmth: Electric Blanket Solutions
Jul.07,2025