Des . 01, 2024 07:42 Back to list
DIY Heating Pad Solutions for Relieving Back Pain Comfortably at Home
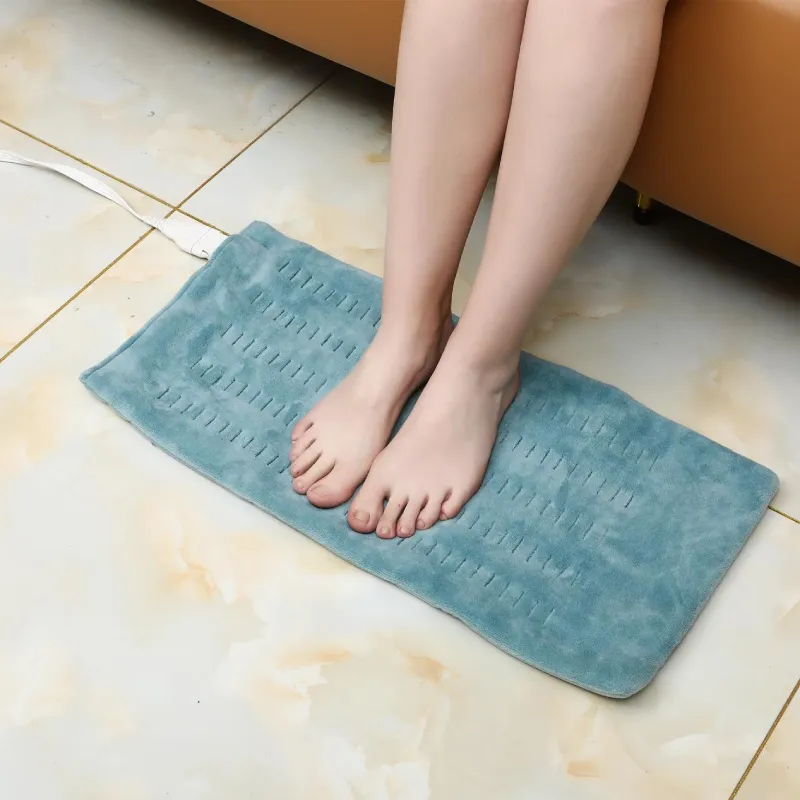
Homemade Heating Pad for Back Pain Relief
Back pain is a common affliction in today’s fast-paced world, affecting millions of people due to various reasons ranging from poor posture and sedentary lifestyles to injuries and medical conditions. While over-the-counter medications and professional treatments are effective, many people seek natural remedies to complement their pain relief strategies. One such remedy is a homemade heating pad, which can provide soothing warmth and relaxation to tense muscles. Here’s how to make your own heating pad and the benefits it offers for back pain relief.
Why Use a Heating Pad?
Heat therapy has been widely accepted as an effective method for alleviating back pain. The warmth helps improve blood circulation, relax tight muscles, and reduce stiffness in joints. When applied to the affected area, heat promotes the body’s natural healing processes and can significantly lower pain levels. Whether you are dealing with chronic pain or a temporary ache, a heating pad can become your go-to solution.
Materials Needed
Creating a homemade heating pad is straightforward and requires minimal materials, which can be found around your home. Here’s a simple list of what you will need
1. Fabric An old cotton sock, pillowcase, or a small square of fabric (about 12x12 inches) will work. Cotton is preferable, as it can withstand heat without releasing harmful chemicals. 2. Filling You can use rice, flaxseed, or even dry beans. Rice is the most common choice because it retains heat well and conforms comfortably to the body.
3. Sewing Materials (Optional) If you want to create a more durable heating pad, you may want a needle and thread. A sewing machine can speed up this process.
Instructions
1. Prepare the Fabric If using a sock, ensure it’s clean and dry. If you’re using a piece of fabric, fold it in half, ensuring the inside faces out.
homemade heating pad for back pain

2. Fill It Up Pour about 1 to 2 cups of your chosen filling into the fabric. Make sure not to overfill, as you want the heating pad to be flexible and easily mold to your back's contours.
3. Seal the Pad If using a sock, tie a knot at the open end. If using a fabric square, sew it securely, leaving a small opening if you need to adjust the filling.
4. Heat the Pad Place the filled pad in the microwave. Start with 30 seconds, then check the temperature. Be sure to heat the pad in short increments (no more than one minute at a time) until it reaches your desired warmth. Avoid overheating, as it may burn your skin.
5. Application Once heated, apply the pad to your back. You can rest it on a chair, lie down, or secure it with a belt or large cloth so it stays in place.
Safety Precautions
While a homemade heating pad is relatively safe, some precautions are essential. Always test the temperature on your wrist before applying it to your back to avoid burns. Do not use a heating pad if you have a medical condition that could be aggravated by heat, such as severe inflammation, unless directed by a healthcare professional.
Additional Benefits
Homemade heating pads are not only effective for back pain but can also relieve menstrual cramps, neck stiffness, and general muscle soreness. They are economical, environmentally friendly, and easy to prepare. You can customize the size and filling to suit your personal comfort.
In conclusion, making a homemade heating pad is a simple and effective way to combat back pain. Combining the ancient wisdom of heat therapy with modern convenience can enhance your well-being and provide much-needed relief. Next time you’re feeling sore, consider reaching for your DIY heating pad for a warm, comforting embrace that effectively soothes pain away.
-
Keep Your Furry Friends Warm with Our Pet Electric Blankets
Aug.07,2025
-
Keep Your Furry Friends Cozy with a Pet Heating Blanket
Aug.07,2025
-
Heated Mattress Blankets
Aug.07,2025
-
Experience Unmatched Comfort with Electric Blanket Double
Aug.07,2025
-
Warm Winter: The Perfect Choice For A Cozy Electric Blanket
Aug.07,2025
-
Discover the Comfort of Heating Pads for Relief and Relaxation
Aug.07,2025
Realted Products